
Wondering how to thin paint for a spray gun? You’re in the right place!
In this guide, you’ll learn:
- What you need to know about thinning paint for a spray gun
- Supplies you’ll need for thinning paint
- Steps required to thin paint for a spray gun

And much more!
If you’re planning on using a spray gun anytime, you may worry about whether or not the paint will flow freely when you’re using it.
The best thing to do is learn how to thin paint for a spray gun, that way you never need to worry about buying a different type of paint or damaging your HVLP spray gun.
With the wide variety of different paints (latex paint, acrylic paint, encapsulants, and much more), it’s much easier to learn the best way to thin the paint so that you don’t have to keep switching paints or spray guns.
This process will keep your costs down and help your spray paint last longer because you’re using less of it.
So, if you want to learn how to get the right consistency for your spray gun, keep reading to learn how to do it yourself!

What You Need to Know About Thinning Paint for a Spray Gun
When you’re planning out a project, especially a large scale painting project, it’s beneficial to know what you need in advance.
Fortunately, the process of thinning paint is relatively simple and doesn’t require all that much.
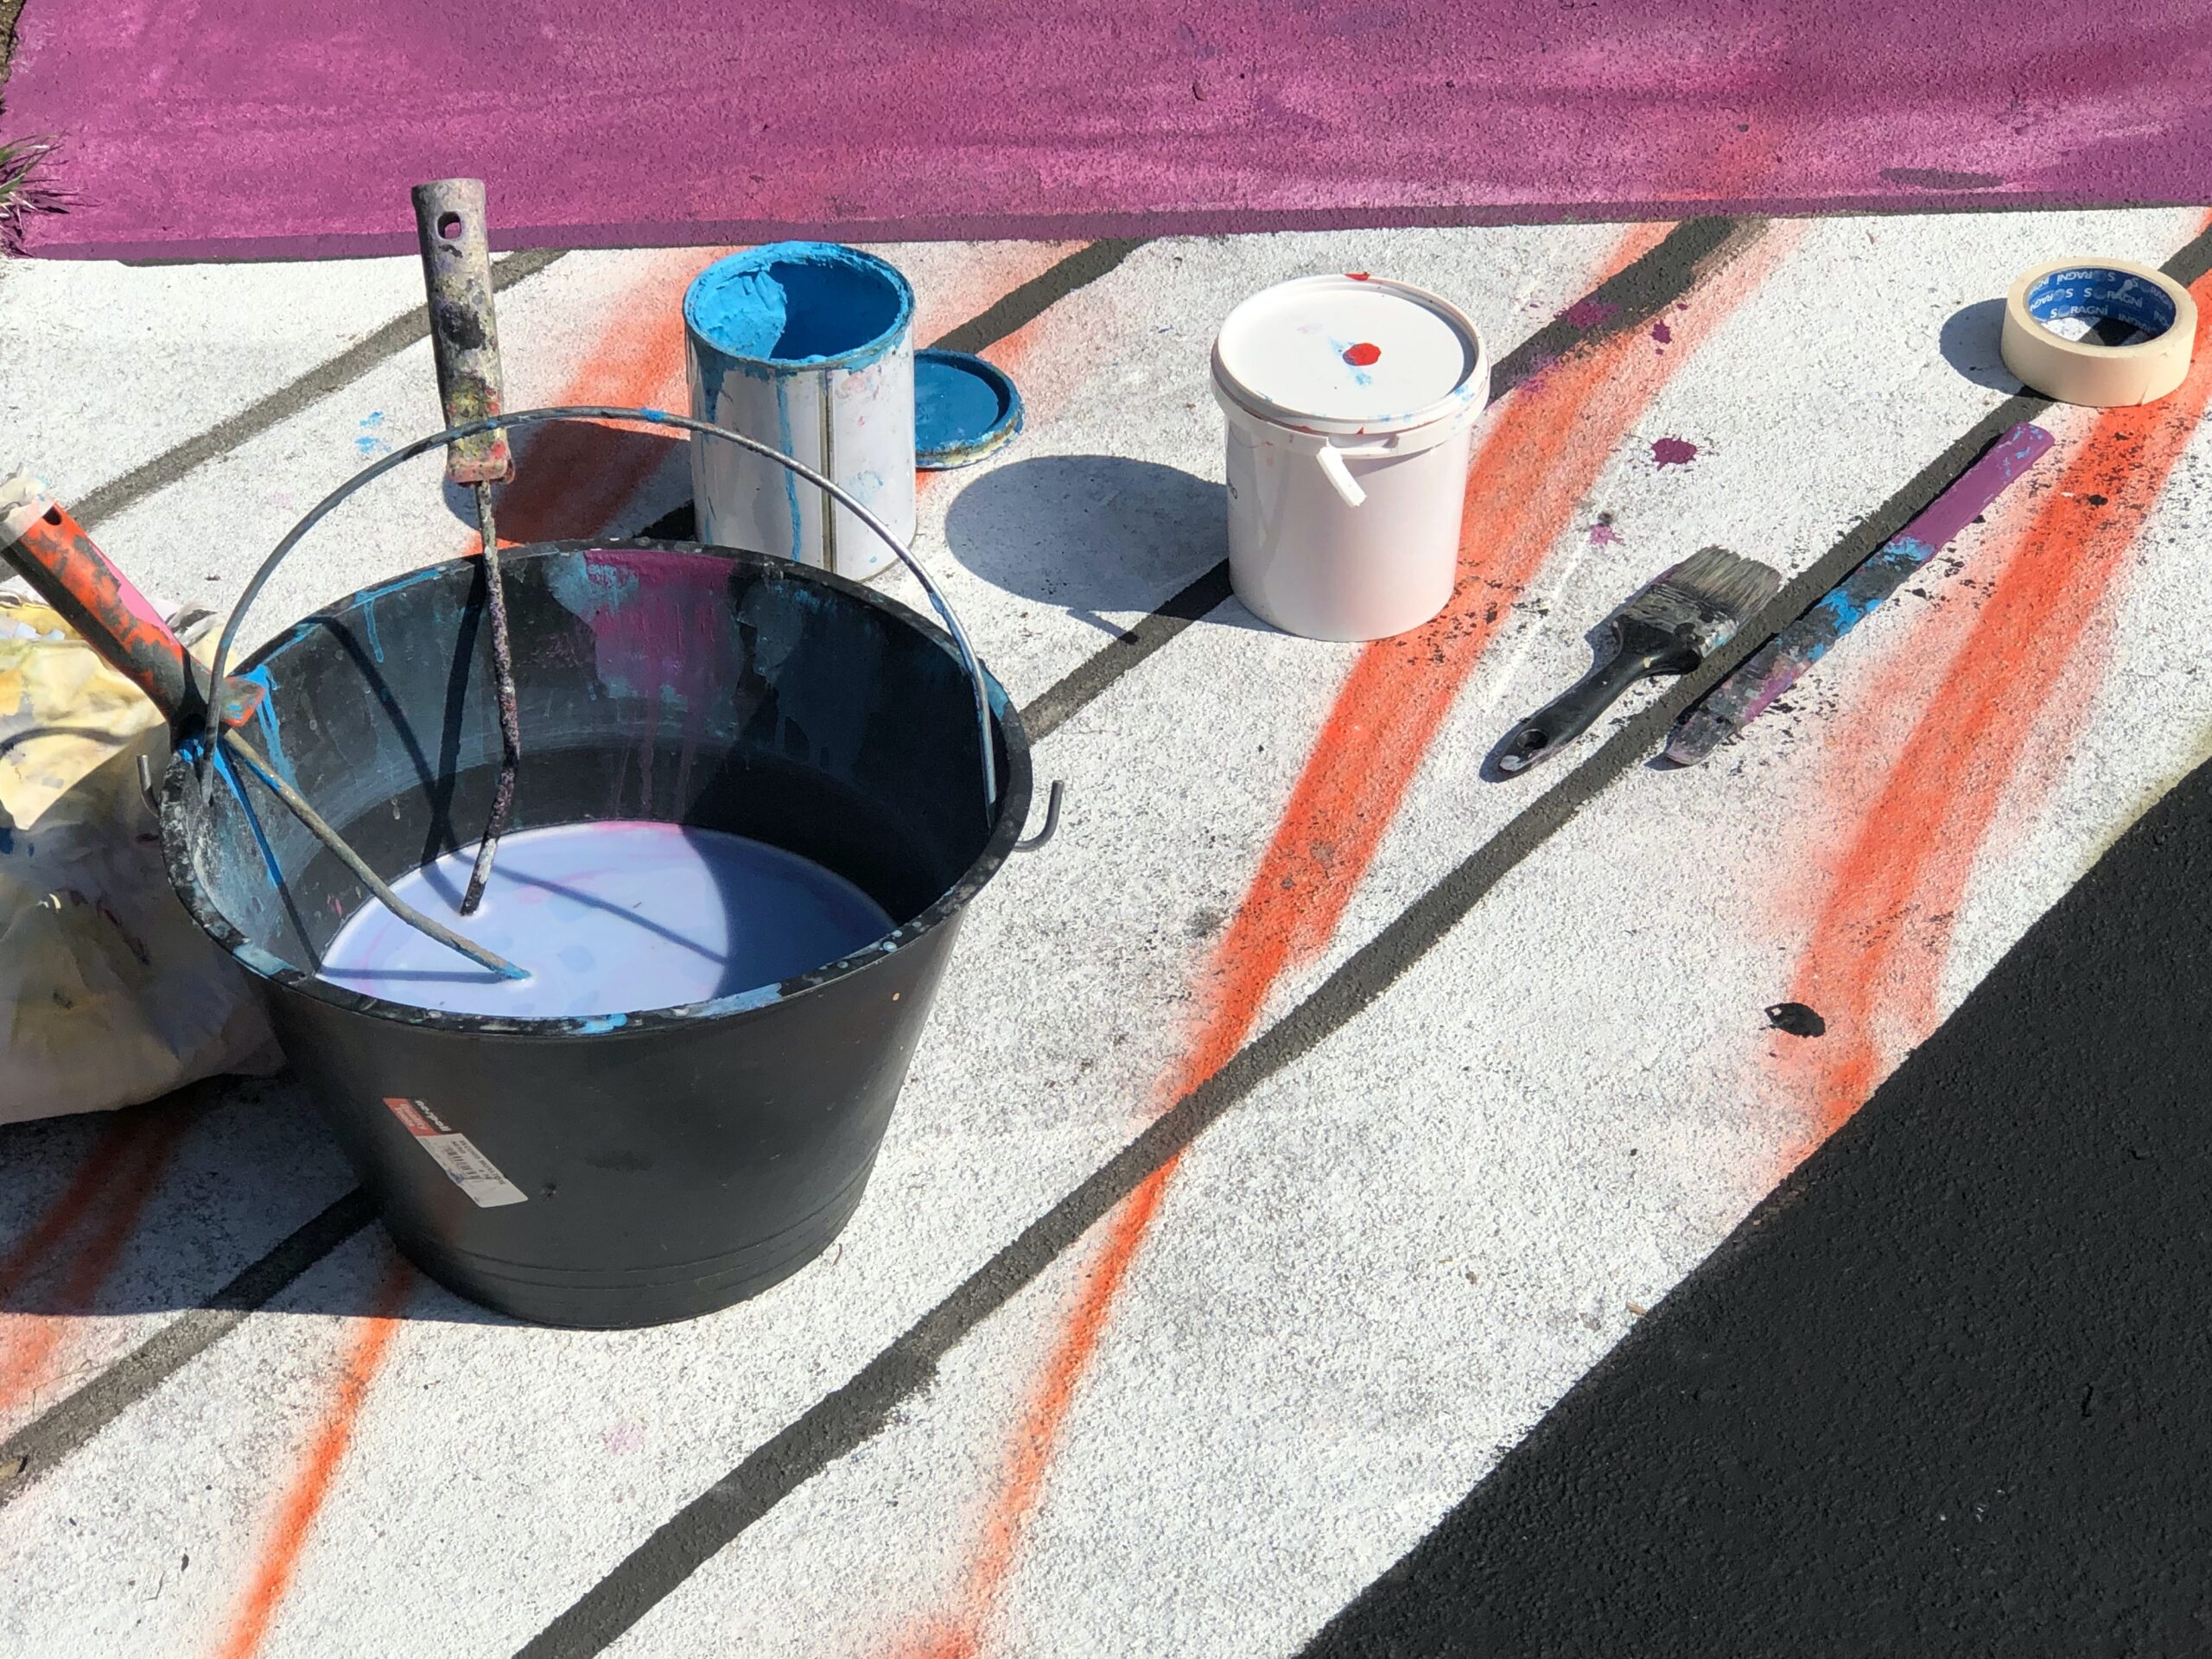
Paint
Obviously you’ll need the paint for thinning.
Without the paint, there’s nothing to color the surface you’re covering.
Water or paint thinner
Water is the primary agent used for thinning, at least for latex paints and for an HVLP spray gun.
You’ll want to have an ample supply of water on hand, even though you won’t use all of it.
Just in case, it’s best to be safe and have about half the volume of paint in water as well.
Funnel
You’ll need a funnel to test the paint’s viscosity.
This will give you a quick visual representation to make sure you’re at the right consistency.
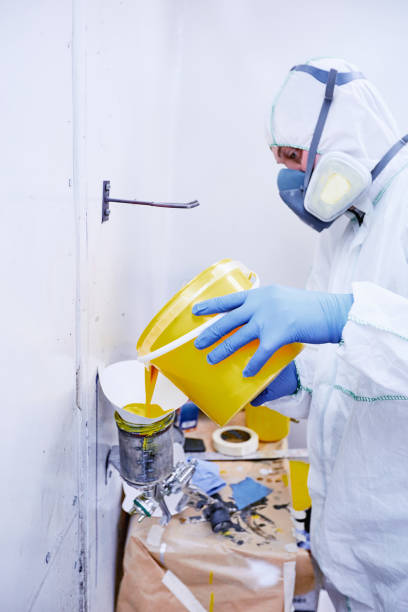
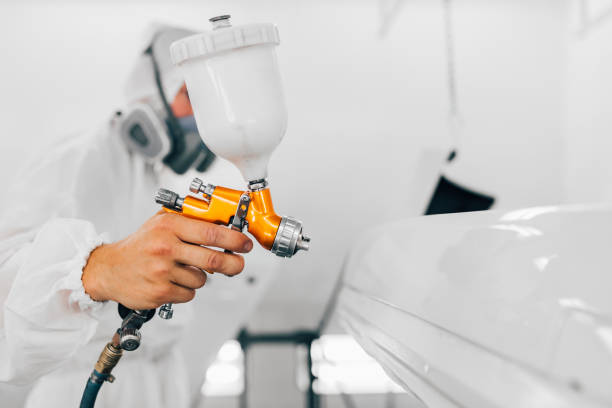
Spray gun
Piece of cardboard or other test surface
It’s best to have a small test surface that you can spray with the thinned paint to make sure it sprays well and adheres properly to the surface.

How To Thin Paint for a Spray Gun (5-Step Guide)
- Mix the paint with 10% of its volume in water.
- Pour it through the funnel.
- Increase ratio as needed.
- Test it on the test board.
- Spray paint your wall.
Step 1 – Mix the paint with 10% of its volume in water
The first step is the most cautious. For every gallon of paint, put in 12-13 ounces of water.
This is 10% of the volume of the paint for every gallon you’re using.
It may be beneficial to use a paint strainer to make sure you’re achieving the right consistency for your sprayer tips.
Use a stir stick to mix the paint with the cup of water properly.
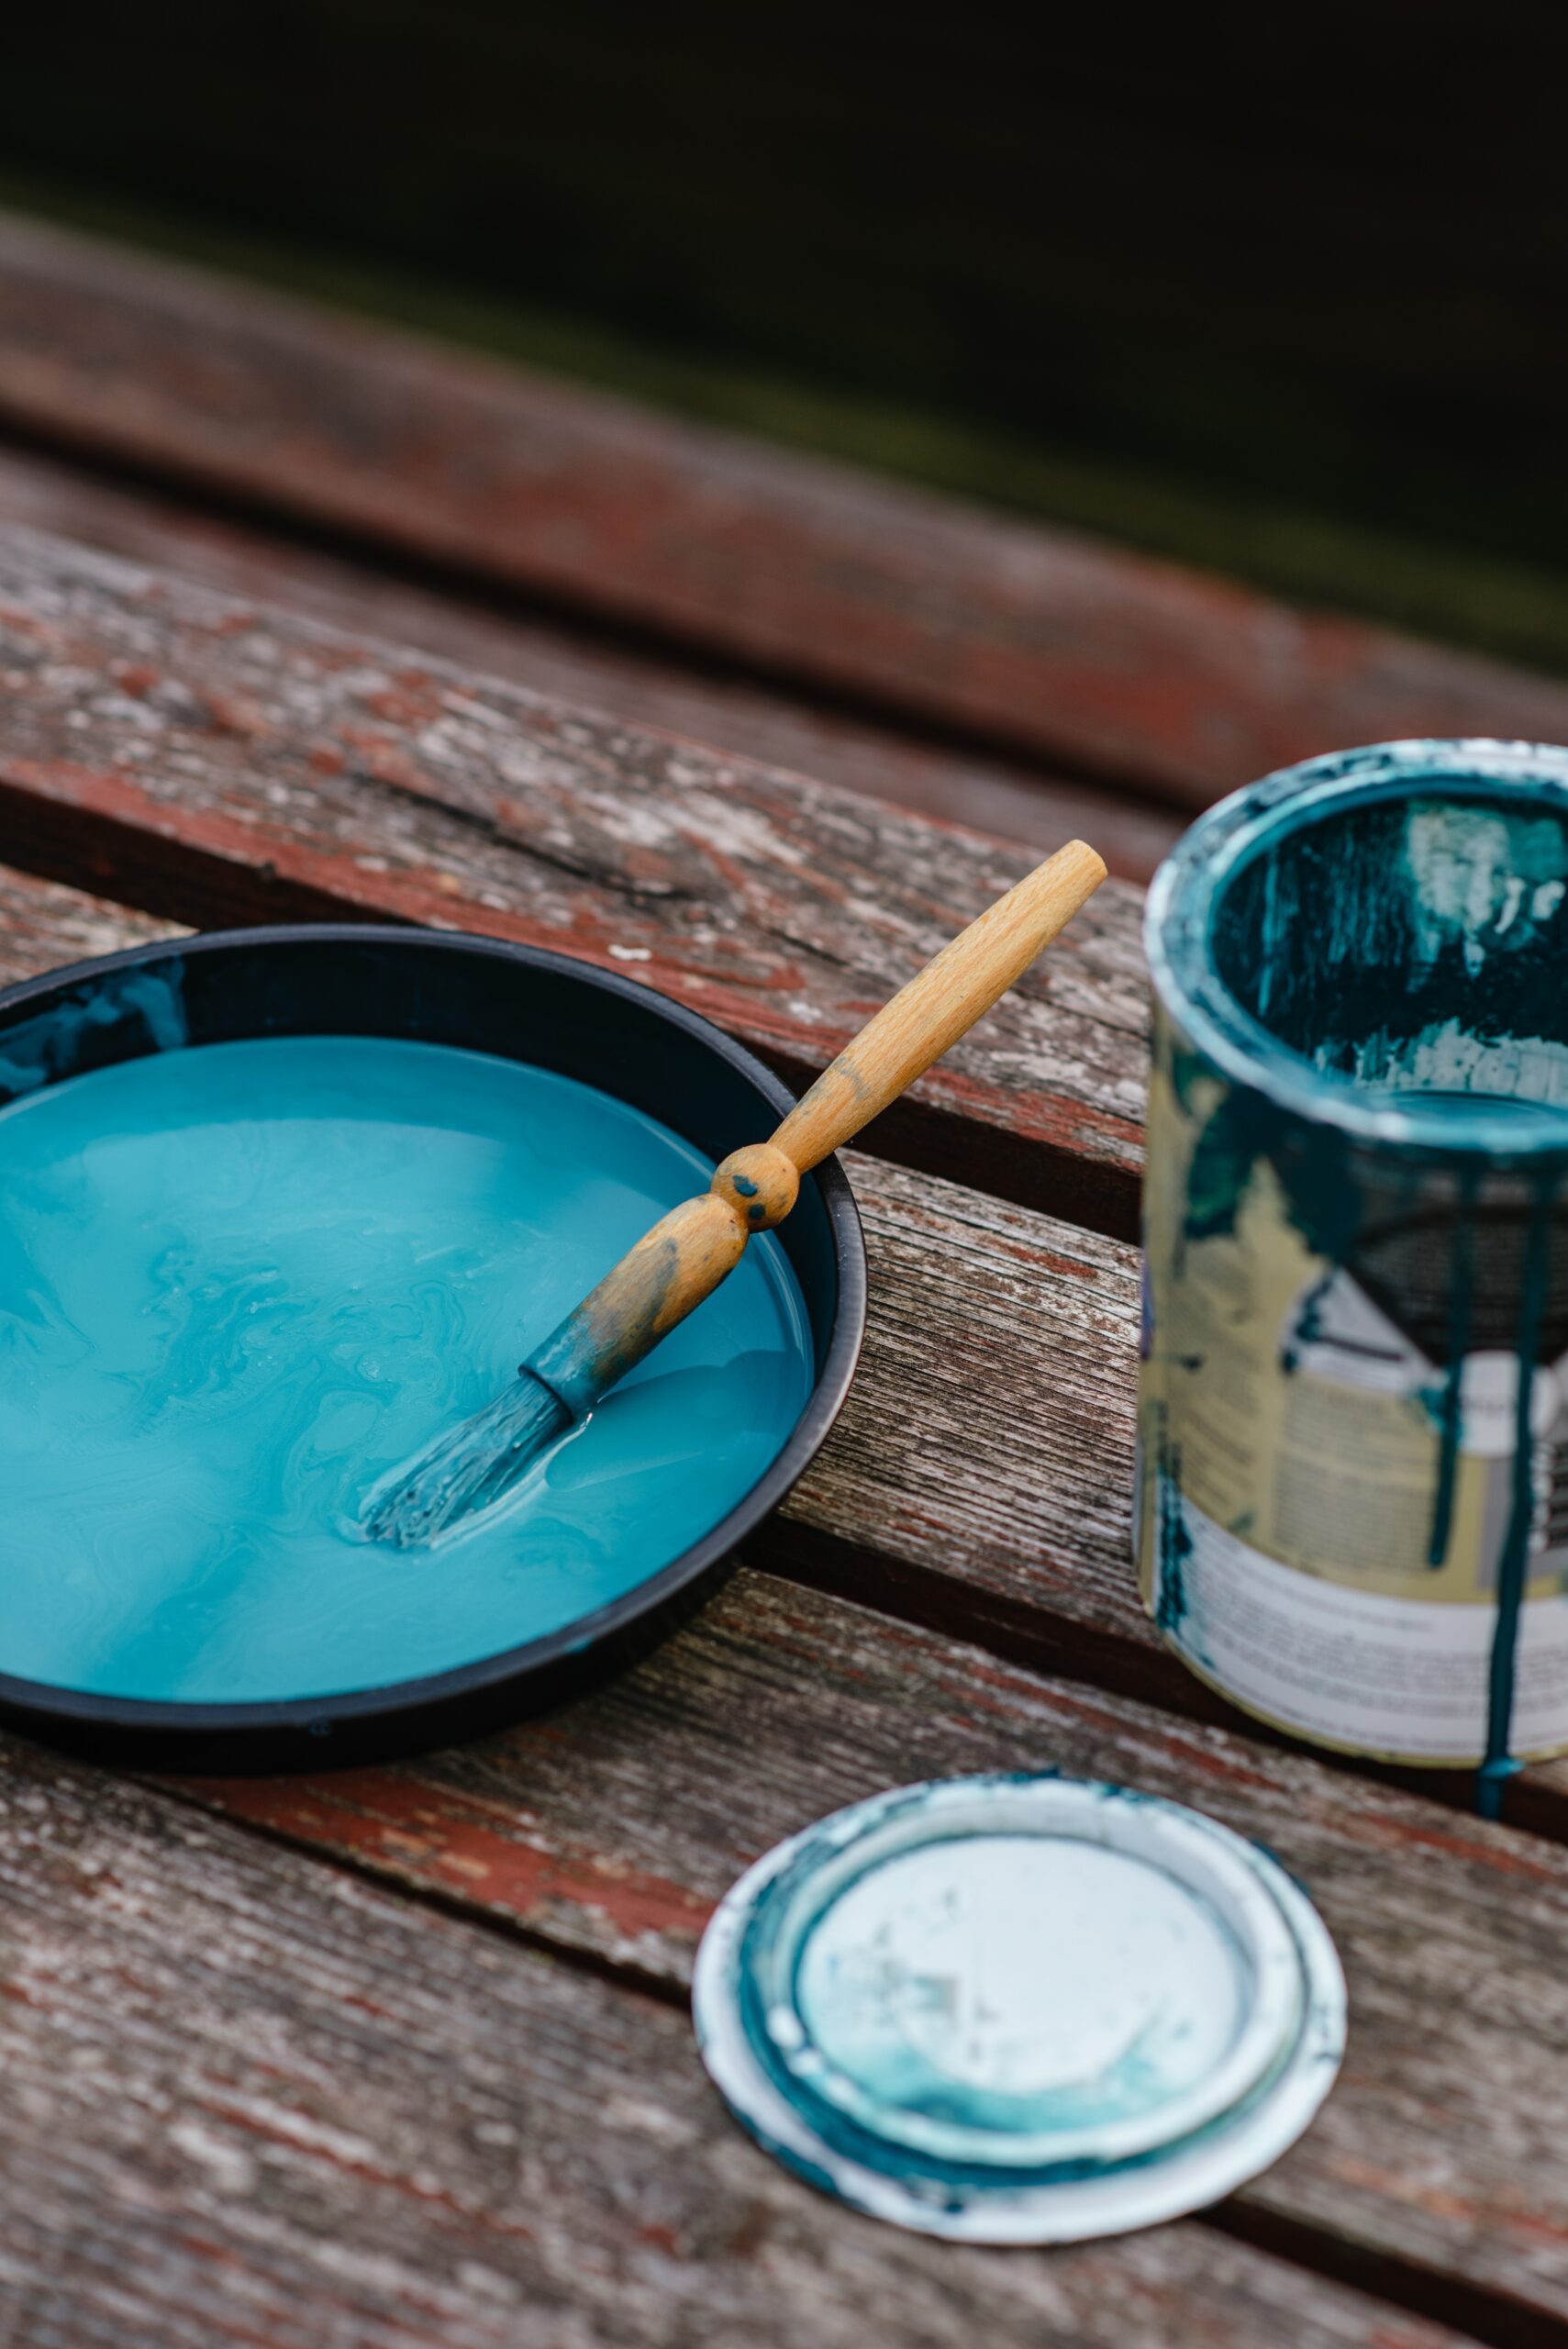
Step 2 – Pour it through the funnel or a paint strainer
The funnel is the visual test of whether or not you can spray through the spray gun.
If you pour the mixture slowly into the funnel, you should see it flow freely out the bottom.
Remember to do this over a bucket or over your regular mixture of paint and water so you don’t waste any.
If it does not flow freely, which it may not with the first pass, go to the next step.
You can use a strainer to check for clogs.
Step 3 – Increase the ratio as needed
You started with 10% of the volume of the paint.
Increase this slowly, adding another 10% each time you’re mixing paint.
It’s very important that you don’t jump up drastically, because you could miss out on a critical sweet spot where it is not too diluted but it flows well through the funnel, especially because this spot is different for different types of paint.
Remember also that you want to preserve the color and maintain the paint’s adhesive properties while thinning the paint.
Step 4 – Test it on a sample surface or test board
If you feel the paint is thinned properly, the next step is to test it out.
Load it into the sprayer and use it on your sample surface.
Ideally, it will spray without getting stuck or slowing down and you’ll get an even, clear spread.
If so, you can go ahead and begin using it like normal.
If not, you’ll have to repeat the process and begin mixing the paint again.
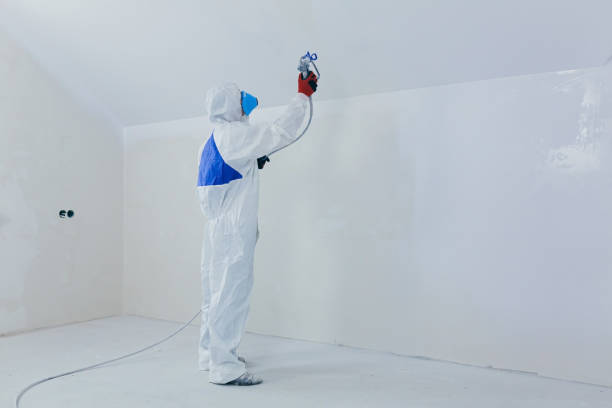
Step 5 – Spray paint your wall
Finally, you are ready to spray paint your wall or whatever other surface you need to color.
Once everything else has been accomplished, you can proceed with the typical spraying process and get it taken care of.
Fortunately, your paint should last longer because you have thinned it during the mixing period, saving you money and making your paint last longer.
This guide can help you learn how to properly determine the viscosity of your paint and how that compares to what your spray gun can handle.
This process requires a good deal of trial and error, and the more you practice with it – and the more diligent you are while doing it – the better your results will be.
Final Thoughts on How to Thin Paint for a Spray Gun
Paint can be fickle at times, but spray guns are sturdy.
If you are off by a little bit in terms of viscosity, don’t stress it too much.
While it’s important to thin your paint properly so that it doesn’t get stuck in the spray gun, as long as you’re able to complete your paint job without messy spots and without ruining your gun, you’ll be fine.
Just remember to clean out your spray gun after you use it.
Taking the steps we laid out here will make your life much easier, and hopefully make your project turn out perfectly.

When To Polish vs Compound vs Wet Sand
When To Polish vs Compound vs Wet Sand: A Comprehensive Guide for Automotive Surface RestorationMaintaining…
HVLP vs LVLP Spray Gun For Automotive And Woodworking
HVLP vs LVLP Spray Gun For Automotive And Woodworking Have you ever experienced a hard…

Airbrush Cake Decorating: Can You Airbrush Buttercream?
Airbrush Cake Decorating: Can You Airbrush Buttercream?Airbrushing is a popular technique used to decorate cakes….

WHAT IS AIRBRUSH MAKEUP
WHAT IS AIRBRUSH MAKEUP Whether it’s your wedding day or you’re just trying out something…
Can You Wet Sand With An Orbital Sander?
If you have ever built anything using wood from scratch, have wanted to smooth out…
5 Things You Need to Know When Choosing Airbrush Compressor
5 Things You Need to Know When Choosing Airbrush CompressorAirbrush compressor is one of the…