
How to Clean a HVLP Spray Gun – Actionable Guide for DIY’ers
Isn’t it the most incredible feeling once you are done with a painting project, and the result is precisely what you wanted?
Well, before you take too much time admiring your work, you should clean your HVLP spray gun.
It is essential that cleaning takes place as soon as possible after your project is complete to ensure the spray gun’s long-term efficiency.
If you don’t correctly clean a hvlp spray gun, chances are you will be spending a lot of money to repair it or even buy a new one.
Different Ways to Clean a HLVP Spray Gun
There are many different methods to clean a HLVP spray gun.
They have been explained in detail below to make sure you find the best cleaning method for your unique requirements.
Acetone
Acetone is an excellent solvent to use when cleaning your spray gun.
It dissolves paint and grease and can also be used to clean all the pieces that need to be disassembled.
It is one of the most cost-effective solvents to use and can be found in various stores.
It is also one of the safer solvents you can use if applied in small amounts.
When cleaning the disassembled pieces, you can leave them to soak in some acetone, remove them and wipe clean.
Lacquer Thinner
Lacquer thinner is also effective at cleaning your spray gun.
However, it is not as safe as acetone.
Lacquer thinner is highly flammable and should be used with caution.
To clean a hvlp spray gun properly, first, you will need to disassemble it.
Once disassembled, place all the smaller parts in a container and pour the solvent over them.
Let the parts soak for a half-hour, and then wipe them off using a clean, dry cloth.
Spray Gun Cleaning Kit
If you are a frequent spray gun user, you might want to invest in a spray gun cleaning kit.
These kits are fabulous and can be used on almost all types of spray guns.
They are helpful when cleaning siphon feed, gravity feed, HLVP, and pressure paint guns.
The kit provides different-sized brushes designed to reach all the cracks and crevices.
While lacquer works very well, acetone is the best solvent to use with these kits.
Now that all the cleaning options have been discussed, let’s get down to the most critical factor, which is how to clean a HLVP spray gun.
Disassemble and Clean a Hvlp Spray Gun

1. The first step is removing the air regulator.
Do this by disconnecting the regulator’s compressed air source and then removing the regulator from the sprayer.
2. Your next step is emptying your spray gun cup.
Using your solvent of choice, add a small amount to a rag and wipe out the cup of any remaining residue.
At the base of the tube is a filter that needs to be removed.
Using your solvent, fill half of the cup, seal the lid and whirl it around.
3. Next, you need to reattach your paint gun to the hose and turbine and spray the solution into a bucket.
Again, ensure this is done in a well-ventilated area so as not to inhale too much of the solvent.
This method will need to be repeated until the solvent spray is clear of any residue.
If there is any leftover solution, it can be poured into a waste container and disposed of responsibly.
4. Using a damp cloth, clean the cup on the inside and outside, remembering to wipe down the lid as well.
5. Examine the pressure tube and check the valve as well.
There should be no residue that can dry and cause blockages inside the line.
Another part you shouldn’t forget about is the pressure tube’s nipple fittings.
6. Next, the collar and air cap need to be removed.
Finally, you need to unscrew the fluid control knob to get to the needle, but please be careful as you should not loosen the spring.
Now you can slowly squeeze the trigger and pull the needle out.
7. Using a wrench, free the fluid nozzle on the front of the paint gun.
Soak the needle, fluid nozzle, and air cap in the cleaning solvent of your choice.
8. Depending on the type of HVLP spray gun you are using, there might be some additional parts to remove.
If I have not mentioned these parts, please refer to your user manual to determine how to disassemble them.
9. Once these pieces are ready to be removed from the solvent, you can take a clean cloth and wipe them down.
Alternatively, use a small cleaning brush to tackle hidden areas where the fabric might not be able to reach.
Be sure not to use a wire brush to clean any part of your sprayer as they can damage it.
The holes of the air cap are usually blocked by residue, so check those as well.
I find that a toothpick or pipe cleaners work best to remove any residue from the tiny holes.
Reassemble Your Paint Gun

Reassembling your sprayer will be easy since you know who to take it apart now.
All you have is to reverse the process.
1.The fluid nozzle needs to be reattached using a wrench.
Ensure that it is attached as tight as possible to avoid allowing any material to pass by and contaminate your gun the next time you use it.
2. The needle is the next piece you need to insert, but apply some oil or lubricant to the shaft before you do that.
Ensure that you are not getting any lubricant on the front of the needle as that end comes into contact with your finish.
3. Gently insert the spring and fasten on the fluid control knob.
4. Last but not least, replace the air cap and collar.
5. Now that everything is reassembled, you need to wipe down the gun itself using a cloth with a small amount of cleaning solution.
Clean your sprayer like this after each use will ensure it keeps performing effectively.
Extra Tips and Tricks
Disposable Paint Cup Liners
You can purchase disposable paint cup liners that help make the clean-up easier.
Natural Cleaners
There are natural cleaning solvents on the market.
For oil-based finishes, you can try this citrus-based cleaner. You can use this solvent to thin paint as well as clean it.
Never use this cleaner for water-based paints. Regular dish soap and water will work better.
Switching from Paint to Lacquer
If you need to switch from paint to lacquer, your sprayer gun needs to be cleaned.
Otherwise, you risk contamination.
This applies if you are using two different colors as well.
Cleaning a Sprayer after Using Water-Based Paint
Due to water-based paint not responding well to cleaning solvents like lacquer or mineral spirits, you should use soap and water instead.
If you use strong chemical solvents with water-based paint, it can damage your spray gun and cause the residue to become sticky or gummy, making it harder to remove.
Cleaning between Coats
A lot of DIY’ers think they need to clean their spray guns between coats of the same color.
This is not true. As long as it’s sealed, there is no need to clean it until you are done with your project.
However, you should do one thing: remove the paint nozzle and rinse it out so that the paint does not dry and clog it up.
You can leave the nozzle in a cleaning solvent for oil-based paints until you are ready to spray the next coat.
You can also take a moist rag and wrap up the air cap until you are prepared to use it again.
Just be sure to rinse any remaining solvent before applying the next coat.
The Maximum Amount of Time Paint Can be Left in a Spray Gun
Paint should only be left in your sprayer for around 3-4 hours while you wait for the coats to dry.
However, leaving the paint in your gun for such a long period will make cleaning it a bit more challenging.

Cleaning Epoxy Primer
Just like with your oil-based paints, you can clean epoxy primer with paint thinner.
However, I find lacquer thinner is the most effective solvent for this job.
Conclusion
For your spray gun to function effectively for as long as intended, you need to clean it correctly after each use.
Clean a hvlp spray gun for the first time might seem overwhelming, but once you have done it, it will get easier each time.
Always use caution when working with toxic cleaning chemicals.
In addition, you should always wear gloves, goggles, and masks to protect yourself.
Although cleaning can be a daunting task, it will save you time and money in the long run.
Nobody wants to start their DIY project by cleaning their spray gun.
Instead, get it over and done so that the next time you need to use your sprayer, it is clean and ready to go.
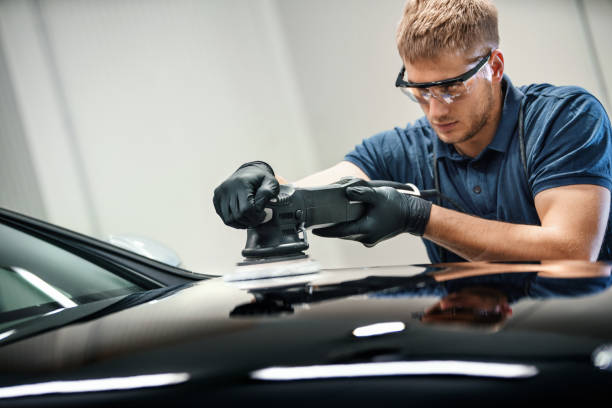
When To Polish vs Compound vs Wet Sand
When To Polish vs Compound vs Wet Sand: A Comprehensive Guide for Automotive Surface RestorationMaintaining…
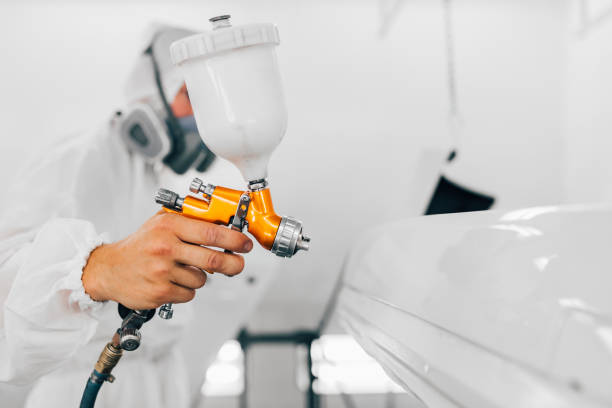
HVLP vs LVLP Spray Gun For Automotive And Woodworking
HVLP vs LVLP Spray Gun For Automotive And Woodworking Have you ever experienced a hard…

Airbrush Cake Decorating: Can You Airbrush Buttercream?
Airbrush Cake Decorating: Can You Airbrush Buttercream?Airbrushing is a popular technique used to decorate cakes….

WHAT IS AIRBRUSH MAKEUP
WHAT IS AIRBRUSH MAKEUP Whether it’s your wedding day or you’re just trying out something…
Can You Wet Sand With An Orbital Sander?
If you have ever built anything using wood from scratch, have wanted to smooth out…
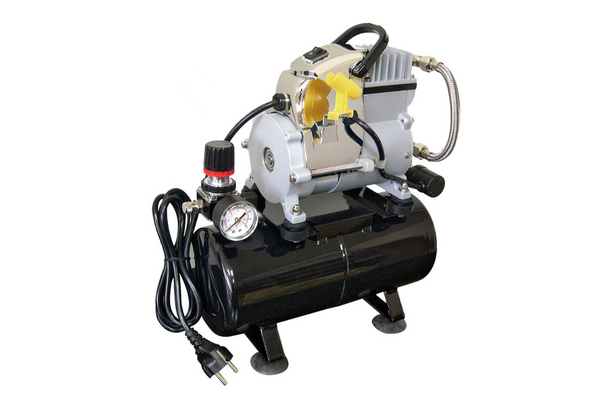
5 Things You Need to Know When Choosing Airbrush Compressor
5 Things You Need to Know When Choosing Airbrush CompressorAirbrush compressor is one of the…